As an Amazon Associate we earn from qualifying purchases. See our affiliate disclosure.
[Get the best value car detailing with clay bar on Amazon today!]
Getting that showroom shine on your car might seem like a task best left to the professionals, but guess what? With a little know-how and the right tools, you can achieve incredible results right in your own driveway. This guide is your ultimate roadmap to car detailing with a clay bar, transforming your ride from dull to dazzling. We'll walk you through each step, ensuring you get a flawless finish and a car you'll be proud to show off. Let's get started!
[Browse top-rated car detailing with clay bar on Amazon]
What is Car Detailing with a Clay Bar and Why Do You Need It?
Before we dive into the how-to, let's understand what a clay bar does and why it's a crucial part of car detailing. Over time, your car's paint accumulates contaminants like brake dust, industrial fallout, tree sap, and road grime. These particles embed themselves in the paint and create a rough surface, preventing your wax or sealant from adhering properly. Washing alone won't remove these bonded contaminants.
That's where the clay bar comes in. It's a pliable, putty-like compound that gently lifts these impurities from your car's paint, leaving behind a smooth, clean surface. Think of it as exfoliating your car's skin! By removing these contaminants, you'll not only improve the look of your car but also enhance the longevity and effectiveness of your wax or sealant, protecting your paint for longer.
[Browse top-rated car detailing with clay bar on Amazon]
Step-by-Step Guide to Car Detailing with a Clay Bar
Here’s your comprehensive guide to achieving that showroom shine:
Step 1: Gather Your Supplies
Before you start, make sure you have everything you need:
- Car Wash Soap: A high-quality car wash soap to clean the surface.
- Two Buckets: One for soapy water and one for rinsing your wash mitt.
- Wash Mitt: A microfiber wash mitt to gently clean your car.
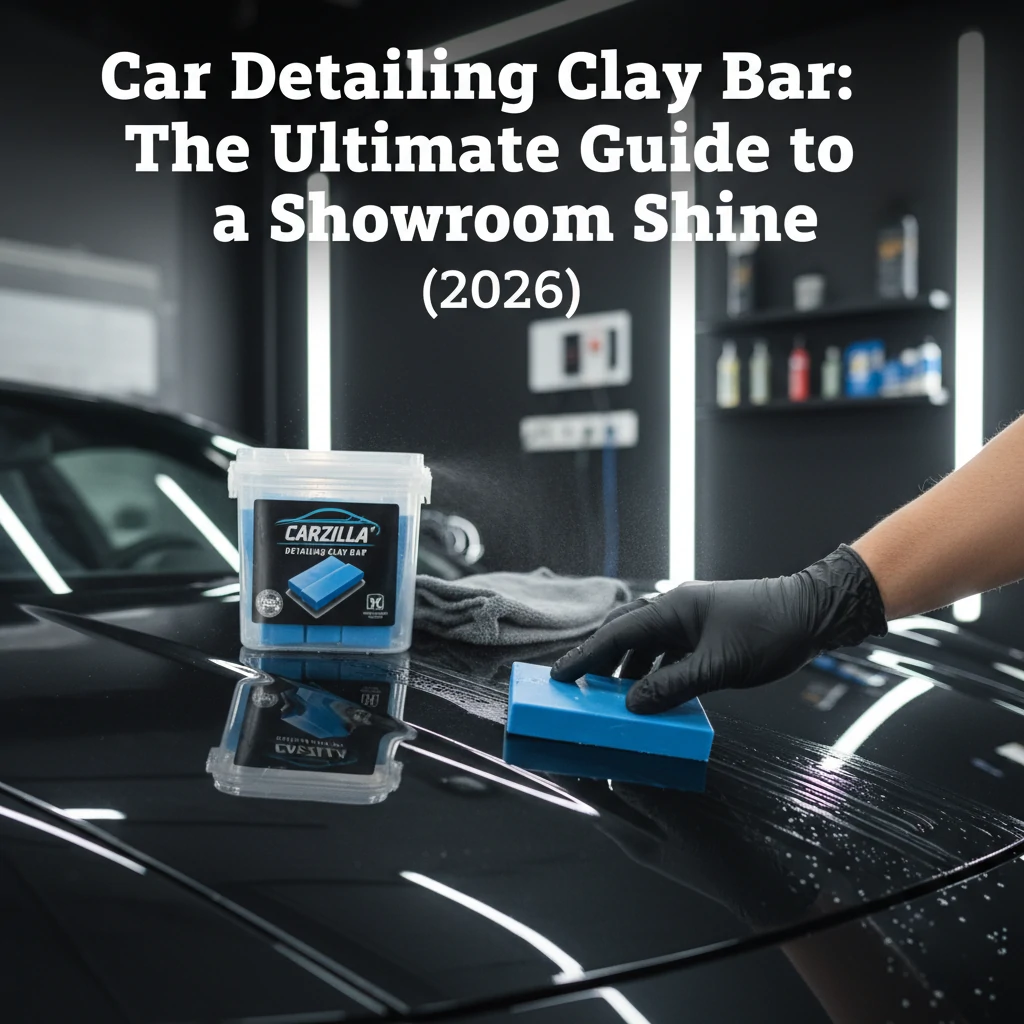
- Clay Bar: Choose a quality clay bar designed for automotive use.
- Clay Lubricant: Essential for preventing the clay bar from scratching your paint.
- Microfiber Towels: Soft, clean microfiber towels for drying and buffing.
- Detailing Spray (Optional): To remove any remaining residue after claying.
- Wax or Sealant: To protect your freshly cleaned paint.
Step 2: Wash Your Car Thoroughly
Start by washing your car thoroughly using the two-bucket method. This removes loose dirt and debris, preventing them from being dragged across the paint during the claying process.
- Fill one bucket with car wash soap and water, and the other with clean water.
- Rinse your car with water to remove loose dirt.
- Dip your wash mitt into the soapy water and wash your car in sections, starting from the top and working your way down.
- Rinse your wash mitt in the clean water bucket after each section to remove any dirt picked up from the car.
- Rinse your car thoroughly with water.
Step 3: Prepare the Clay Bar
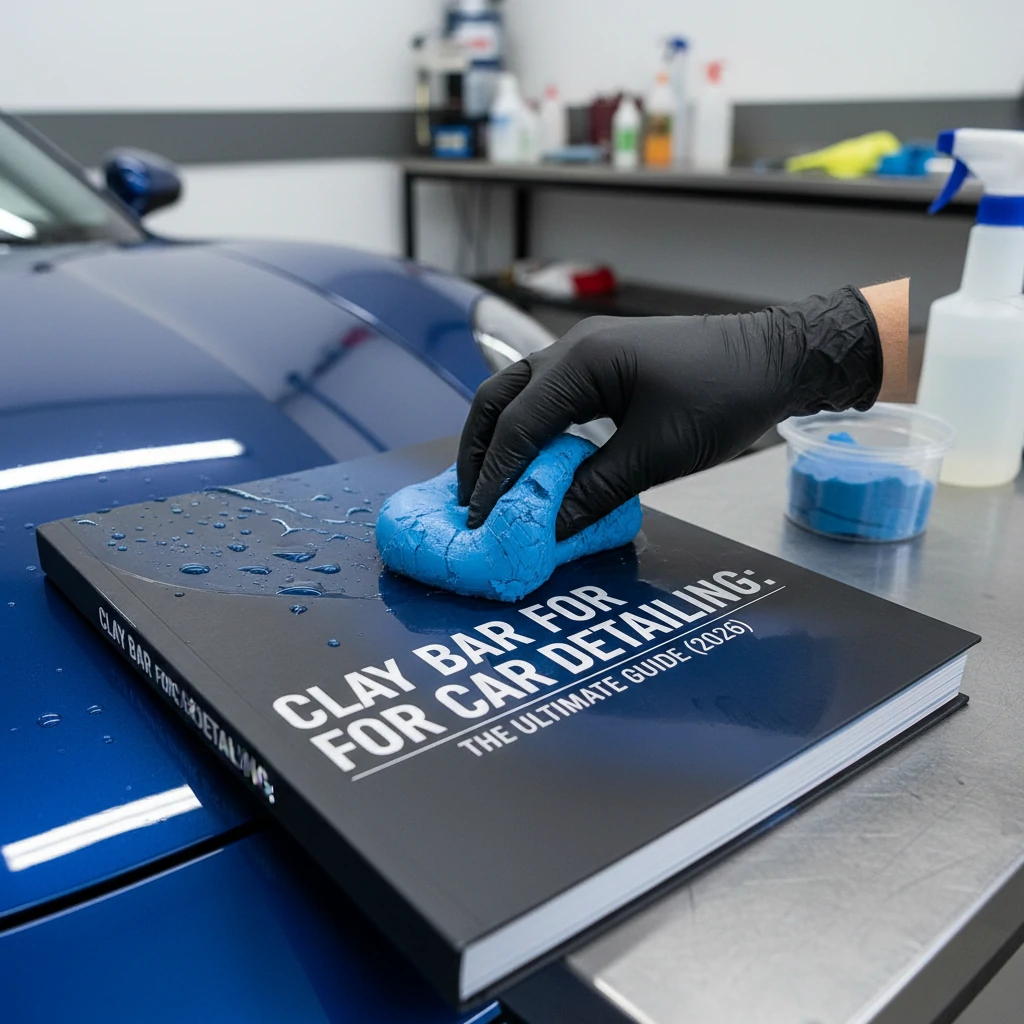
Knead the clay bar in your hands until it becomes soft and pliable. Flatten it into a patty shape that fits comfortably in your palm. This exposes a fresh, clean surface for use.
Step 4: Lubricate the Surface
This is the most crucial step to prevent scratches. Generously spray the clay lubricant onto a small section of your car’s paint. The lubricant allows the clay bar to glide smoothly over the surface, lifting contaminants without damaging the clear coat.
Step 5: Clay the Surface
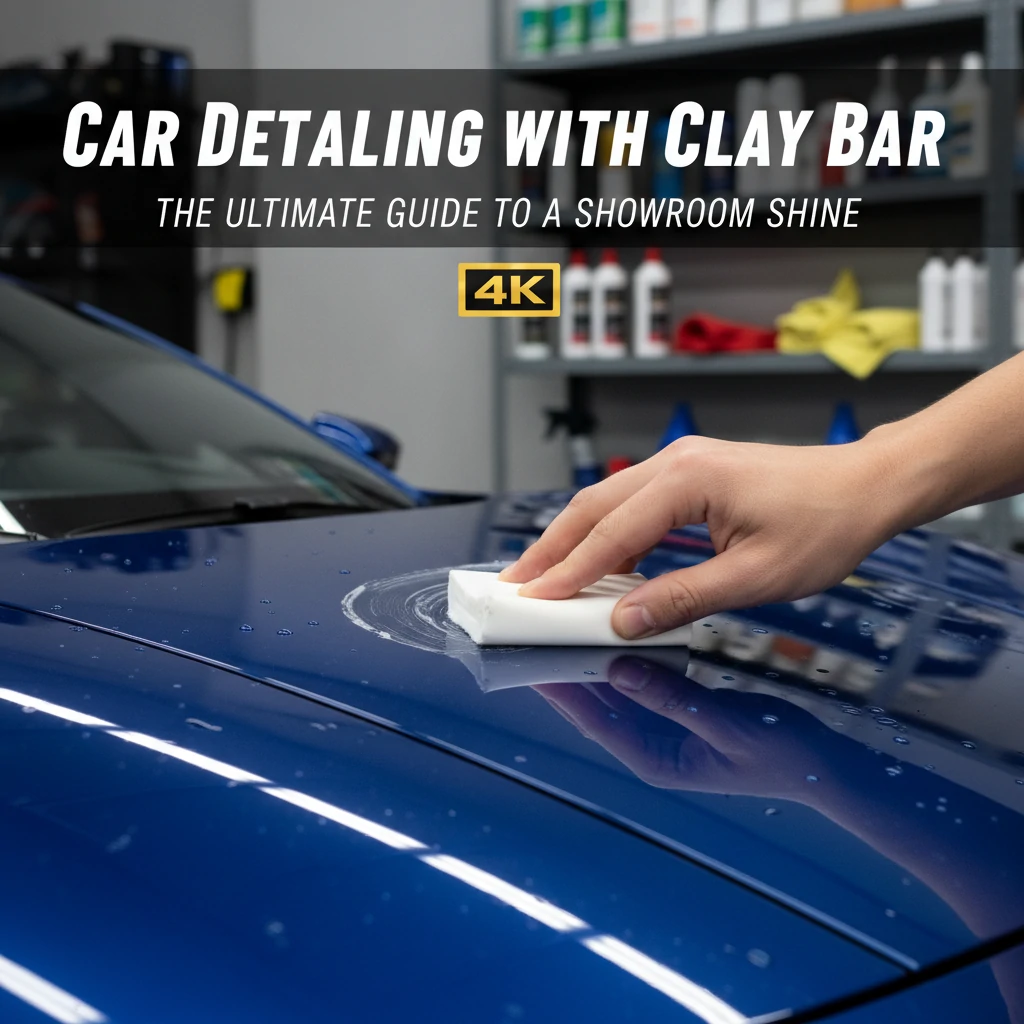
Gently glide the clay bar back and forth over the lubricated area, using light pressure. You should feel the clay bar grabbing onto contaminants as it moves across the surface. As the clay bar picks up contaminants, you'll feel the surface become smoother.
Step 6: Inspect and Re-Lubricate
After a few passes, inspect the clay bar. If you see visible dirt or contaminants, fold the clay bar over to expose a clean surface and knead it again. Re-lubricate the area and continue claying.
Step 7: Wipe Away Residue
Once you've clayed a section, wipe away any remaining lubricant with a clean microfiber towel. Inspect the surface to ensure it's smooth and free of contaminants.
Step 8: Repeat the Process
Repeat steps 4-7 on all painted surfaces of your car, including the hood, roof, trunk, doors, and fenders. Work in small sections to ensure thorough cleaning and prevent the lubricant from drying out.
Step 9: Wash Your Car Again (Optional)
Some detailers prefer to wash the car again after claying to remove any remaining residue. This step is optional but can help ensure a perfectly clean surface before waxing or sealing.
Step 10: Dry Your Car Thoroughly
Use a clean microfiber towel to dry your car thoroughly. This prevents water spots and prepares the surface for the final step.
Step 11: Apply Wax or Sealant
Now that your car's paint is clean and smooth, it's time to protect it with a coat of wax or sealant. Apply the wax or sealant according to the manufacturer's instructions. This will provide a protective layer against the elements and give your car that showroom shine.
[Browse top-rated car detailing with clay bar on Amazon]
Tools for the Job: Recommended Products for Car Detailing with Clay Bar
To make the process even easier and more effective, here are a couple of recommended products that will help you achieve the best results:
- Meguiar's G1016 Smooth Surface Clay Kit: This kit includes everything you need to get started, including a clay bar, clay lubricant, and a microfiber towel. The clay bar is gentle yet effective at removing contaminants, and the lubricant provides excellent protection against scratches. The key features are its ease of use and comprehensive kit contents, making it perfect for beginners.
- Chemical Guys Clay Luber Synthetic Clay Lubricant: This lubricant is specially formulated to work with clay bars, providing a slick surface that prevents scratches and allows the clay bar to glide smoothly. Its key feature is its advanced formula that maximizes the effectiveness of the clay bar while protecting your paint.
[Browse top-rated car detailing with clay bar on Amazon]
Pro-Tips / FAQ Section
Here are some pro tips and frequently asked questions to help you get the most out of car detailing with a clay bar:
- How often should I clay bar my car?
- It depends on how often you drive and the conditions you drive in. Generally, claying your car every 6 months is a good practice.
- Can I use a clay bar on my windows or wheels?
- Yes, you can use a clay bar on your windows and wheels to remove water spots and brake dust.
- What happens if I drop the clay bar on the ground?
- If you drop the clay bar on the ground, discard it immediately. It will pick up dirt and debris that can scratch your paint.
- How do I store the clay bar after use?
- Store the clay bar in a clean, airtight container to prevent it from drying out or picking up contaminants.
- Can I reuse a clay bar?
- Yes, you can reuse a clay bar as long as it's not heavily contaminated. Knead it to expose a clean surface before each use.
- What's the difference between a clay bar and a clay mitt?
- A clay mitt is a microfiber mitt with a clay polymer bonded to it. It's a faster and more convenient alternative to a clay bar, but some detailers prefer the traditional clay bar for its more precise cleaning ability.
- Is it necessary to wax or seal my car after claying?
- Yes, it's highly recommended. Claying removes the existing wax or sealant, leaving your paint exposed. Applying a fresh coat of wax or sealant protects your paint from the elements and enhances its shine.
[Browse top-rated car detailing with clay bar on Amazon]
Encouraging Conclusion
Congratulations! You've just completed a full car detailing with a clay bar. By following these steps, you've not only removed contaminants and restored your car's shine but also protected its paint for the long haul. Remember, the key to a flawless finish is patience and attention to detail. Now, step back and admire your work – you've earned it! Enjoy your showroom-worthy ride!
[Check the latest prices and deals for car detailing with clay bar on Amazon today!]