As an Amazon Associate we earn from qualifying purchases. See our affiliate disclosure.
[Get the best value front light polish on Amazon today!]
Let's face it: hazy, yellowed headlights are not only an eyesore, but they also significantly reduce your visibility at night. Driving with cloudy headlights is dangerous, plain and simple. But before you rush out to replace them, there's a much simpler and more affordable solution: front light polish.
This comprehensive guide will walk you through the process of restoring your headlights to their former glory, making your car safer and looking its best. You'll be amazed at the difference a little elbow grease and the right products can make!
[Browse top-rated front light polish on Amazon]
Step-by-Step Guide to Headlight Restoration with Front Light Polish
Restoring your headlights is a straightforward process that anyone can do with a bit of patience and the right supplies. Here's a step-by-step guide to achieving professional-looking results with front light polish.
Step 1: Gather Your Supplies
Before you begin, make sure you have everything you need:
- Front Light Polish: A dedicated headlight restoration polish is essential.
- Masking Tape: To protect the surrounding paint.
- Sandpaper: Various grits (e.g., 400, 600, 1000, 2000, 3000) for removing the oxidation.
- Spray Bottle with Water: To keep the sandpaper lubricated.
- Microfiber Towels: For cleaning and polishing.
- Buffing Pad and Drill (Optional): For faster and more effective polishing.
- Headlight Sealant or UV Protectant: To protect the restored headlights from future oxidation.
- Gloves: To protect your hands.
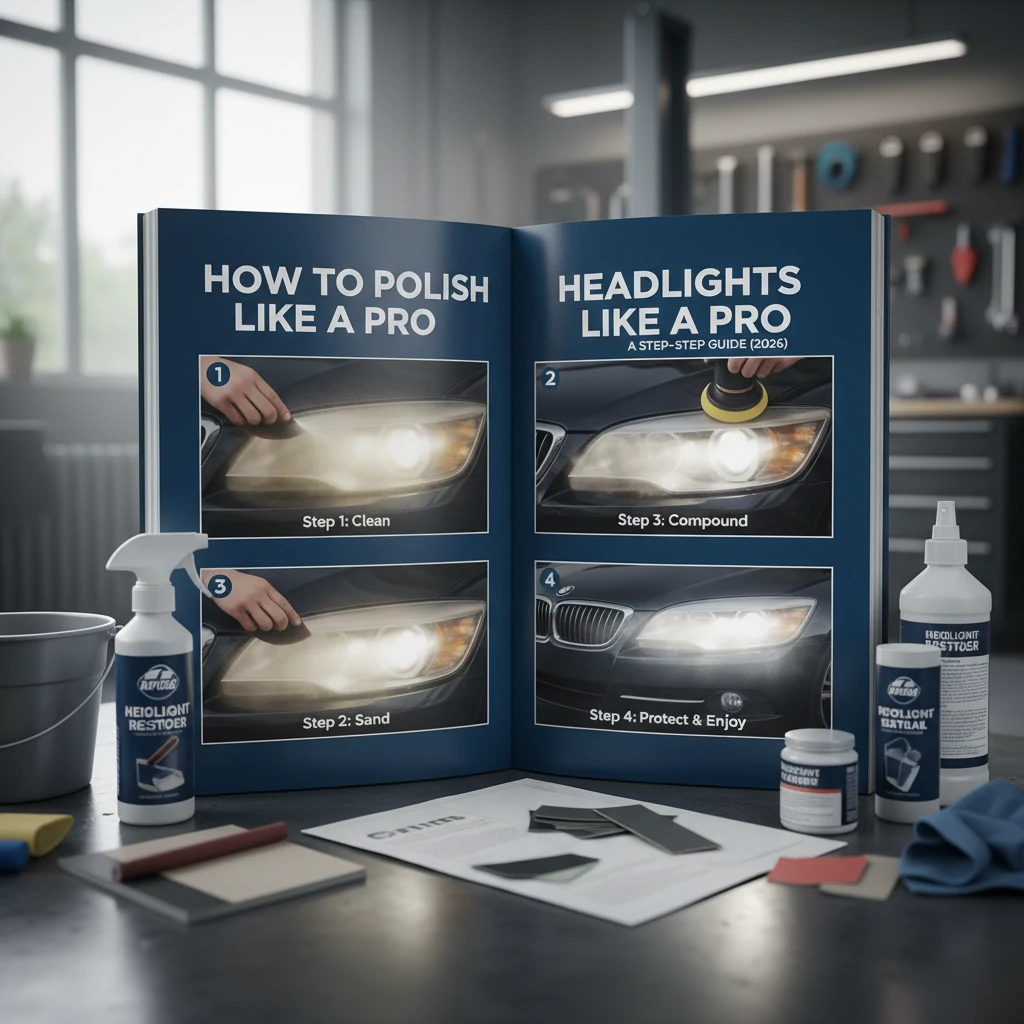
Step 2: Clean the Headlights
Thoroughly clean the headlights with soap and water to remove any dirt, grime, or debris. Dry them completely with a microfiber towel.
Step 3: Mask the Surrounding Paint
Use masking tape to carefully protect the paint around the headlights. This will prevent accidental scratches or damage during the sanding and polishing process.
Step 4: Sand the Headlights (Wet Sanding)
This is the most crucial step in removing the oxidation and restoring clarity. Wet sanding involves using sandpaper lubricated with water to gradually remove the damaged outer layer of the headlight lens.
- Start with the coarsest grit: Begin with 400-grit sandpaper. Soak the sandpaper in water and gently sand the headlight in a back-and-forth motion. Apply even pressure and keep the surface wet.
- Progress to finer grits: After sanding with 400-grit, rinse the headlight and switch to 600-grit sandpaper. Repeat the wet sanding process, making sure to cover the entire surface evenly.
- Continue sanding with progressively finer grits: Continue sanding with 1000, 2000, and 3000-grit sandpaper, rinsing the headlight and changing the water frequently. Each grit will remove the scratches left by the previous grit, gradually smoothing the surface. The headlight should appear increasingly cloudy as you progress through the sanding process – this is normal!
Step 5: Apply Front Light Polish
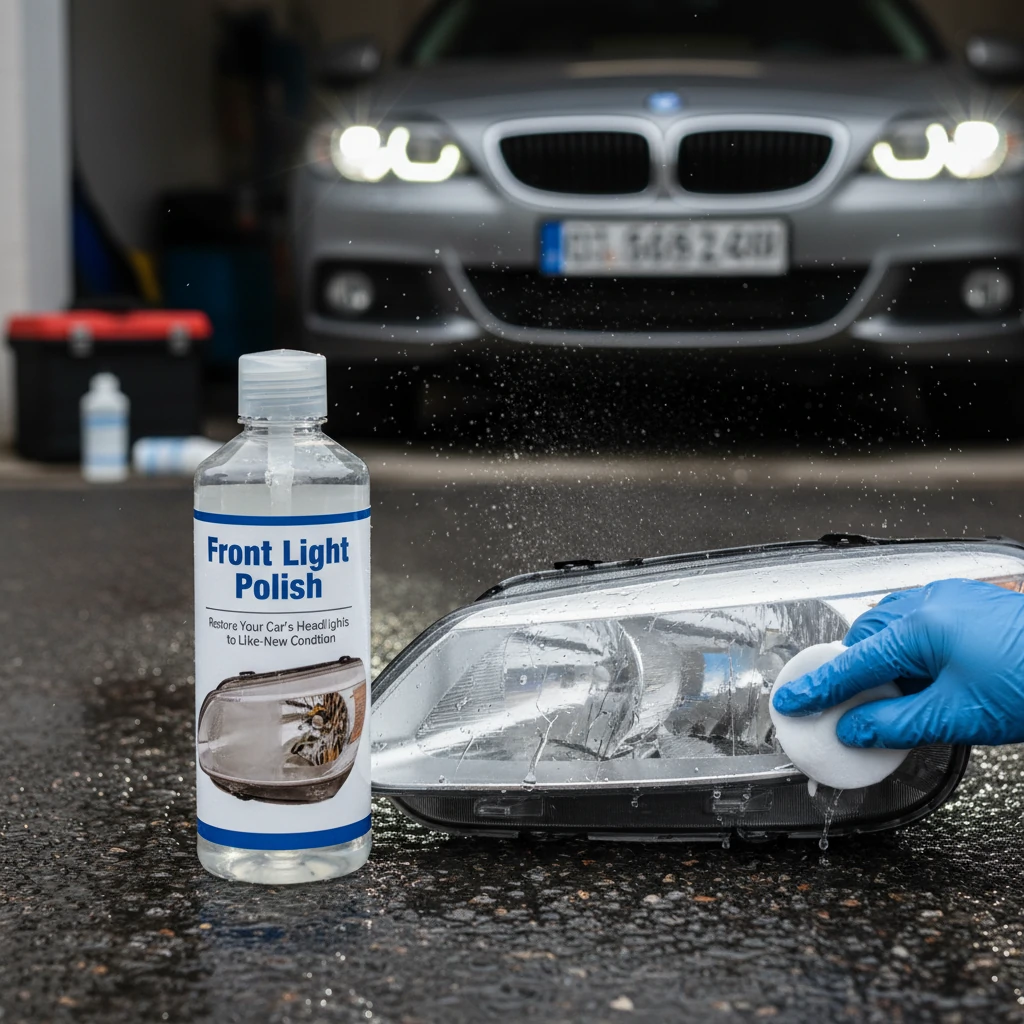
Once you've finished sanding, dry the headlights thoroughly. Apply a small amount of front light polish to a clean microfiber towel or a buffing pad attached to a drill (if using).
- Hand Polishing: If polishing by hand, rub the polish onto the headlight in a circular motion, applying moderate pressure. Continue polishing until the polish starts to dry and the headlight becomes clearer.
- Machine Polishing: If using a buffing pad and drill, start with a low speed and gradually increase it as needed. Apply even pressure and move the buffer in a back-and-forth motion, overlapping each pass.
Step 6: Buff and Clean
After polishing, use a clean microfiber towel to buff the headlight and remove any remaining polish residue. The headlight should now be significantly clearer and brighter.
Step 7: Apply Headlight Sealant or UV Protectant
To protect your newly restored headlights from future oxidation, apply a headlight sealant or UV protectant. This will help to maintain their clarity and prevent them from yellowing again. Follow the manufacturer's instructions for application.
Step 8: Remove Masking Tape
Carefully remove the masking tape from around the headlights.
Step 9: Admire Your Work!
Step back and admire your restored headlights. You'll be amazed at the difference!
[Browse top-rated front light polish on Amazon]
Tools for the Job: Recommended Front Light Polish Products
Choosing the right front light polish can make all the difference in achieving professional-looking results. Here are a couple of recommended products that consistently receive high praise from car enthusiasts and professionals alike:
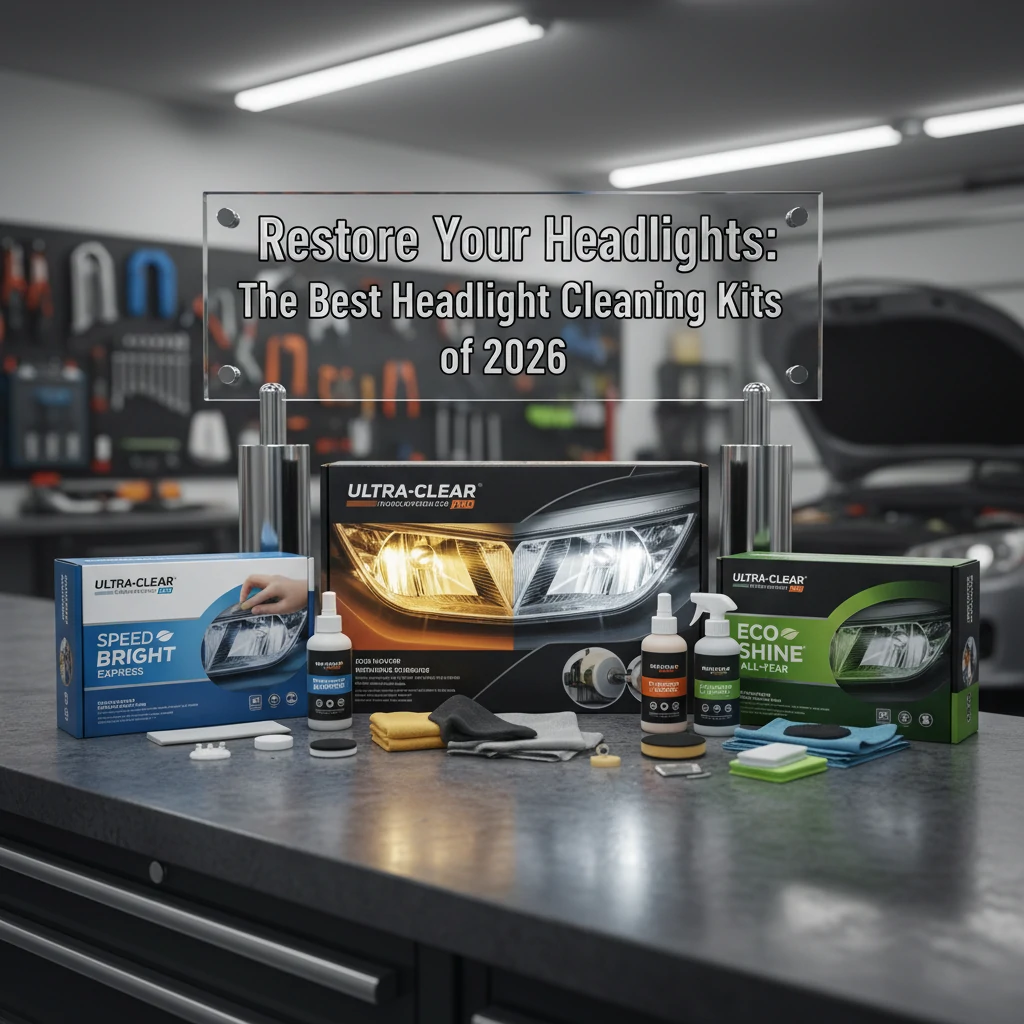
Meguiar's Headlight Restoration Kit: This comprehensive kit includes everything you need to restore your headlights, including sanding pads, polish, and a sealant. It's a popular choice for its ease of use and excellent results.
- Key Features: Includes multiple grades of sanding pads, PlastX polish, and headlight protectant.
- Why We Like It: The kit provides a complete solution for headlight restoration, making it easy for beginners to achieve professional results. The included sealant helps to protect the headlights from future oxidation.
3M Headlight Restoration Kit: Another highly-rated kit, the 3M Headlight Restoration Kit features a simple and effective process for restoring headlights. It includes sanding discs, a compounding pad, and a polishing pad, all designed to work with a standard drill.
- Key Features: Drill-powered sanding and polishing, easy-to-follow instructions, and long-lasting results.
- Why We Like It: The drill-powered system makes the sanding and polishing process much faster and easier than doing it by hand. The kit is also very durable and provides long-lasting results.
[Browse top-rated front light polish on Amazon]
Pro-Tips / FAQ Section
Q: How often should I polish my headlights?
A: The frequency of polishing depends on several factors, including the climate you live in, the amount of sun exposure your car receives, and the quality of the headlight sealant you use. Generally, it's recommended to polish your headlights every 6-12 months to maintain their clarity.
Q: Can I use regular car polish on my headlights?
A: While regular car polish may provide some temporary improvement, it's not designed for the specific needs of headlight lenses. Front light polish is formulated with abrasives that are specifically designed to remove oxidation and restore clarity to plastic headlight lenses. Using regular car polish may not be effective and could even damage the headlights.
Q: What if my headlights are severely damaged?
A: If your headlights are severely damaged, with deep scratches or cracks, sanding and polishing may not be enough to restore them completely. In this case, you may need to consider replacing the headlights.
Q: Why is wet sanding important?
A: Wet sanding helps to keep the sandpaper lubricated, which prevents it from clogging and reduces the risk of scratching the headlight lens. The water also helps to carry away the debris created during sanding, resulting in a smoother finish.
Q: Can I use a power buffer instead of sanding by hand?
A: Yes, using a power buffer can significantly speed up the sanding and polishing process. However, it's important to use caution and avoid applying too much pressure, as this could damage the headlight lens.
Pro-Tip: Always work in a well-ventilated area when using front light polish and other chemicals. Wear gloves to protect your hands from the chemicals and abrasives.
Pro-Tip: After polishing your headlights, consider applying a ceramic coating specifically designed for headlights. This will provide even greater protection against UV damage and oxidation, helping to keep your headlights clear for longer.
[Browse top-rated front light polish on Amazon]
Encouraging Conclusion
Restoring your car's headlights with front light polish is a simple and rewarding project that can significantly improve your car's appearance and safety. By following the steps outlined in this guide, you can achieve professional-looking results and enjoy clear, bright headlights for years to come. Don't let cloudy headlights compromise your visibility and style – take the time to restore them and enjoy the benefits of a safer and more attractive vehicle. You've got this!
[Check the latest prices and deals for front light polish on Amazon today!]