As an Amazon Associate we earn from qualifying purchases. See our affiliate disclosure.
Leather condition, finish, dye, prior repairs, and the exact type of soil all affect cleaning. This guide uses the manufacturer’s instructions without presenting invented sofas, cars, or test results as evidence.
Research basis: This material update is based on desk research and the primary source below. AutoblingReviews did not perform hands-on product testing for this page.
Affiliate disclosure: We may earn from qualifying purchases through retailer links, at no added cost to you. Affiliate commission is not a ranking criterion.
How we researched this guide
We used the following decision criteria:
- Leather type, finish, colorfastness, and manufacturer care instructions
- Hidden-area test, lint-free cloth, moisture control, and drying
- Conditioning, suede exclusions, damage that cleaning cannot repair
Evidence limit: The instructions exclude suede and do not prove restoration of cracked, delaminated, or permanently stained leather.
Primary source checked
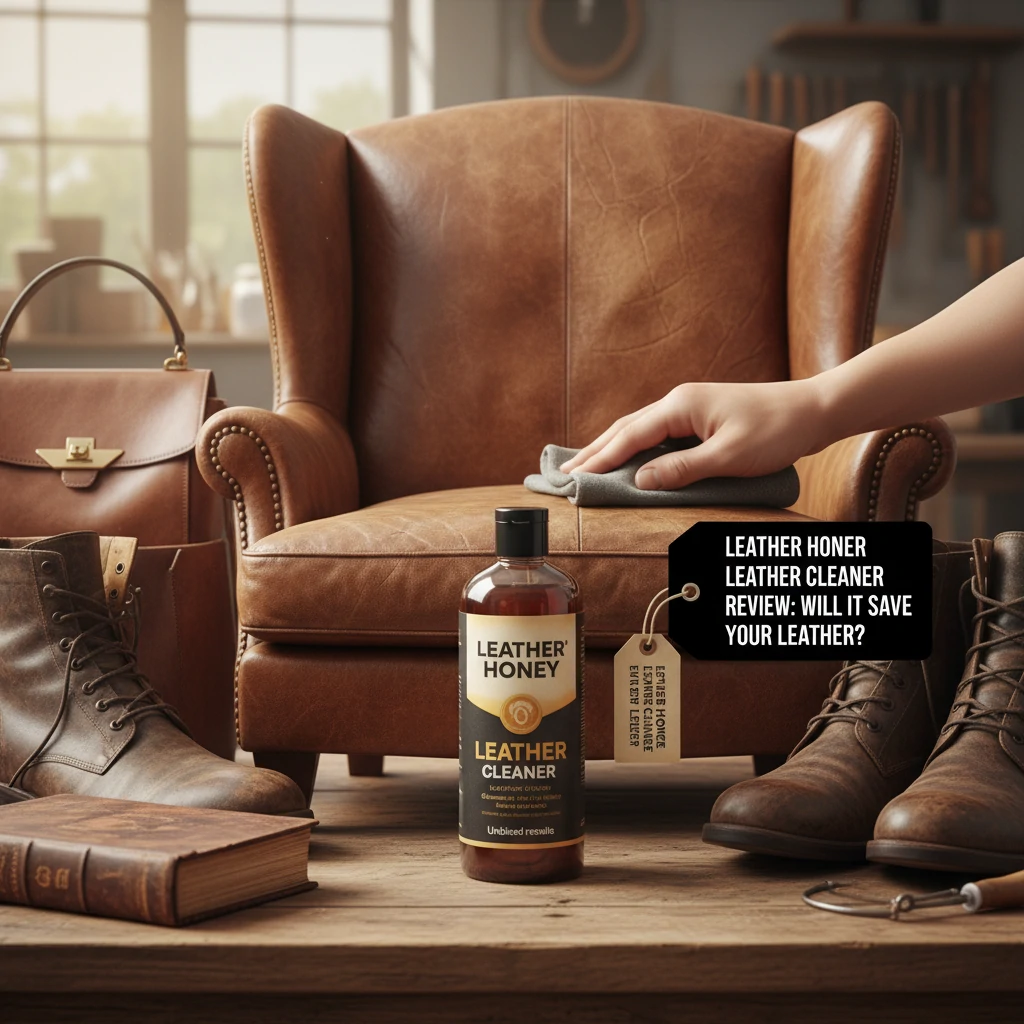
- Leather Honey: How to Use Leather Cleaner — Leather Honey directs users to test a hidden area, wipe with a lint-free cloth, and condition after drying.
For our full process, see the research methodology and editorial policy. Confirm the current label, instructions, compatibility, price, and availability before acting.
Compare current Leather Honey leather cleaner listings on Amazon
Identify the leather and its condition
Before cleaning, determine whether the item is finished automotive leather, aniline leather, suede, nubuck, bonded material, vinyl, or another surface. Leather Honey excludes suede from the cited instructions. Cracking, peeling, color loss, and delamination are damage—not soil—and cleaner cannot rebuild them.
Manufacturer-directed process
Leather Honey instructs users to test an inconspicuous area, apply with a lint-free cloth, allow the leather to dry, and then use conditioner. Follow the current product label for quantity, timing, and any additional exclusions.
Application checks
- Vacuum or gently remove loose debris before wet cleaning.
- Keep liquid out of perforations, seams, foam, electronics, and unfinished edges.
- Watch the test area for dye transfer, darkening, gloss change, or texture change.
- Stop if the material identity is uncertain or the maker specifies a different product.
- Do not confuse temporary darkening from moisture with permanent restoration.
Cleaner versus conditioner
A cleaner is intended to remove compatible soil; a conditioner is a separate maintenance step. Neither is a repair for torn, abraded, peeling, or structurally degraded upholstery. Overapplication can also leave residue or change appearance.
Bottom line
The cited instructions support a cautious test-clean-dry-condition sequence on permitted leather. They do not support the earlier invented test scenarios or a promise that the product will “save” damaged leather.